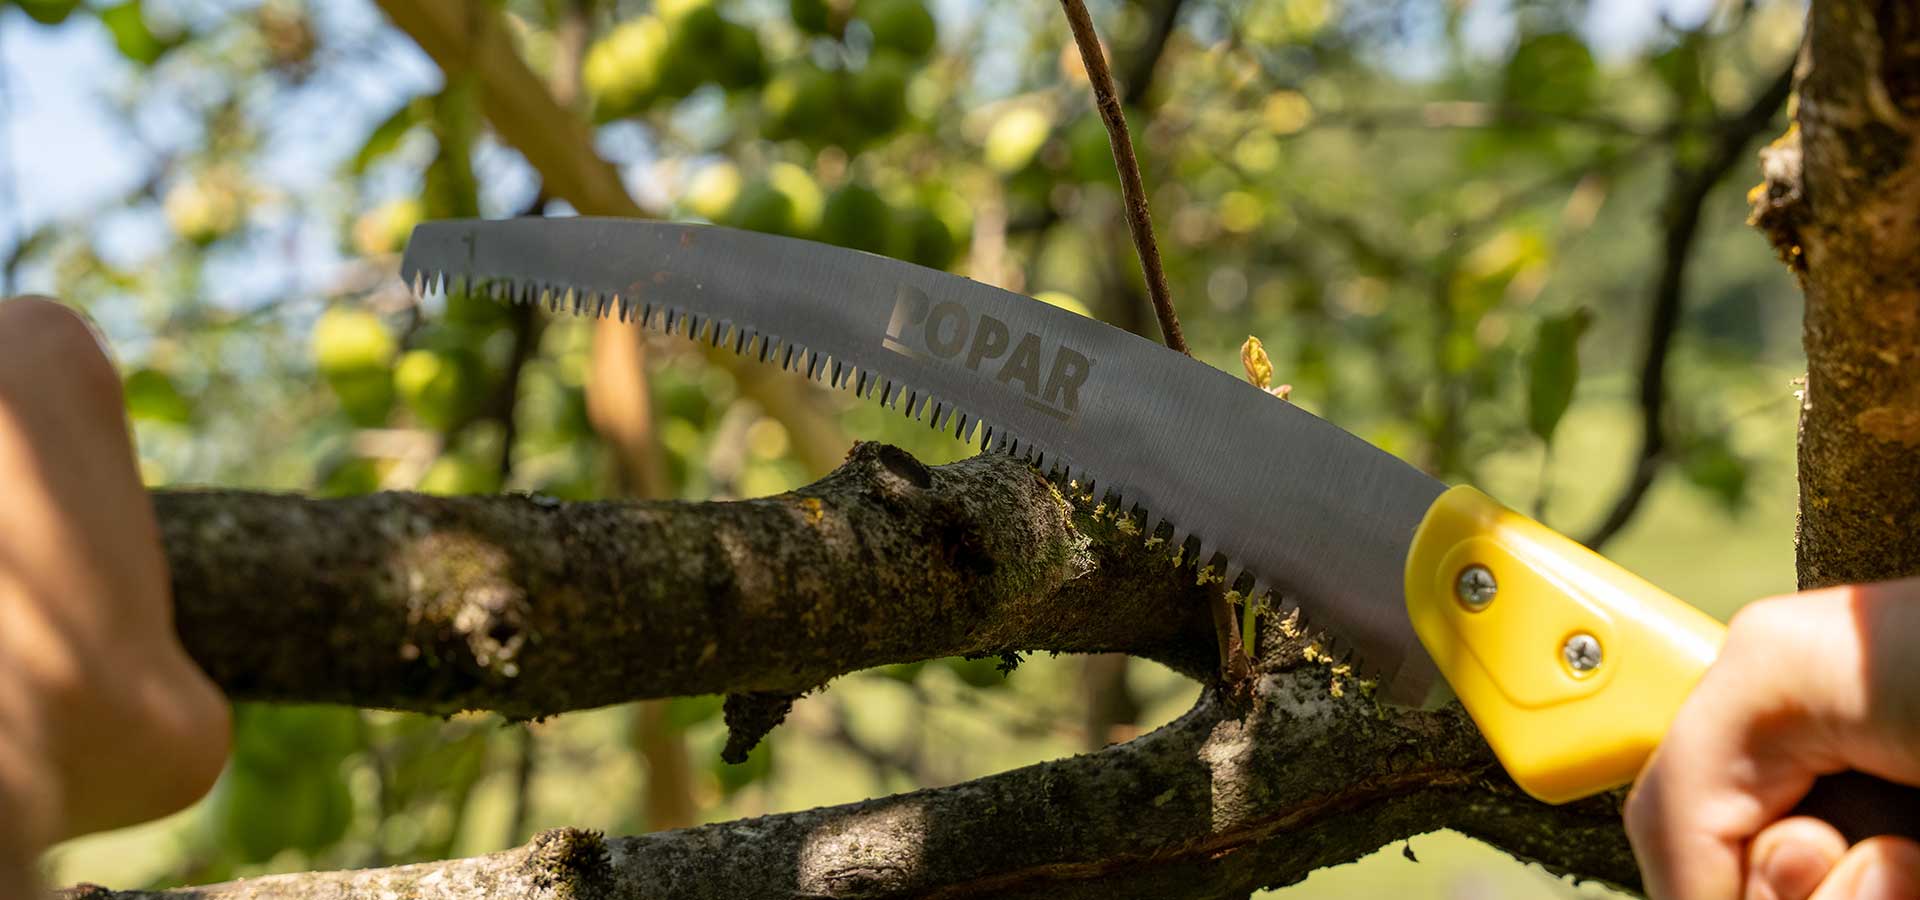
DIY wooden flower pot from recycled wood and POPAR hand tools

Creating your own wooden flower pot is a rewarding and sustainable way to enhance your home or garden. Using recycled wood not only gives new life to old materials but also adds a rustic and natural charm to your space. In this professional step-by-step guide, we’ll walk you through the process of building a durable, stylish, and eco-friendly wooden planter.
Materials and tools needed:
✔️ Recycled wooden planks (pallets, old furniture, or fence panels)
✔️ Hand saw POPAR
✔️ Measuring tape POPAR and pencil
✔️ Sandpaper (medium and fine grit)
✔️ Drill with wood bits
✔️ POPAR hammer and nails I Or POPAR screwdriver and screws
✔️ Wood glue (optional for extra stability)
✔️ Paint or wood stain (optional for finishing)
Step-by-step instructions
Step 1: Prepare your materials
Start by selecting recycled wooden planks. Choose pieces that are sturdy and free from rot. If needed, clean the wood and remove nails or screws from old boards. An easiest way to remove old nails from planks is with claw hammer or roofing hammer, that both offers a right grip to remove old nails.
Step 2: Measure and cut the wood
Use a measuring tape and pencil to mark the dimensions of your planter. A standard size for a small flower pot is 30 cm (length) x 20 cm (width) x 20 cm (height), but of course you can go bigger, depends of the plants, you want to plant into it.
- Cut four panels for the sides for smaller pot, for bigger first measure the needed height of flower pot and then calculate the needed number of planks
- Cut one panel for the bottom.
- Optionally, cut decorative corner reinforcements for added strength.
Step 3: Sand and smooth the wood
Use medium-grit sandpaper to remove rough edges and splinters. Again, these is the easiest to do with claw or roofing hammer POPAR. Then, use fine-grit sandpaper for a smoother finish.
Step 4: Assemble the flower pot
- Position the side panels vertically and attach them to the bottom panel.
- Use screws and a POPAR screwdriver to secure the connections. If you don't have screwdriver, you can go with nails and POPAR hammer instead.
- Optionally, apply wood glue for extra reinforcement.
Step 5: Drill drainage holes
Use a drill with a wood bit to create three to five drainage holes at the bottom. This ensures proper water flow for plant health.
Step 6: Finishing touches
- Paint, stain, or apply a weather-resistant sealant to protect the wood from moisture.
- Let it dry completely before adding soil and plants.
If you are going to use the trough indoors, it is also necessary to provide an impermeable layer in the trough before planting, so that water does not run off onto furniture or the floor. The easiest way to ensure this is to place foil inside the trough. Since draining excess water from the trough when using it indoors is not possible, special attention must also be paid to watering the plants.
Why use POPAR hand tools?
POPAR tools provide precise cutting, reliable fastening, and smooth finishing, ensuring a professional-quality project. Whether you're a DIY enthusiast or a professional, the right tools make all the difference.
Now, you're ready to fill your handmade wooden flower pot with vibrant flowers!