Summer creativity with kids: build a wooden boat for your backyard pool
Summer is a time for relaxation, family time, and creativity – so why not combine all of it into one simple home project? The kids are home, temperatures are high, and a swimming pool (even an inflatable one) or a nearby stream calls for new kinds of fun. Today, we present a fun and educational DIY project: making a wooden boat for use in the pool. Alongside your children, you’ll learn the basics of working with hand tools while spending quality time together.
Step-by-step guide: How to build a wooden boat
1. Preparing the materials
You will need:
● A piece of soft wood (e.g. spruce, fir) – approx. 30 x 10 x 2 cm or larger, depending on the desired boat size
● A wooden stick for the flag or sail (optional)
● Sandpaper (various grits)
● Stainless steel nails
● Wood glue
● Waterproof wood paint
● Wood varnish
2. Hand tools you'll need:
● POPAR hand saw – for cutting the wooden pieces
● POPAR chisel – for carving out the inner part of the boat
● POPAR carpenter’s hammer – for hammering in the nails
● POPAR paint brush – for applying the paint and varnish
● POPAR parallel vice or POPAR woodworking clamp – for securing the wood before cutting
● Pencil, POPAR measuring tape, and safety goggles
Step 1: Shaping the basic boat form
Using a pencil, draw the outline of your boat on the selected piece of wood – don’t forget to slightly raise the front and the side edges to avoid water flooding the boat.
Clamp the wood into the POPAR parallel vice or fix it securely with POPAR clamps. Use the POPAR hand saw to carefully cut out the drawn shape.
Step 2: Carving the inside of the boat
Use POPAR chisels (available in different widths) and the POPAR hammer to carve out a shallow area in the middle of the boat – this will be the “interior” where you can later add a flagpole or mast. Try to stay close to the final form during carving to minimize sanding later.
Step 3: Sanding the edges
Use sandpaper to smooth all the edges, both inside and out, so they are safe for kids’ hands and the wood is ready for painting. Start with coarse grit to quickly remove excess wood, then finish with fine grit for a smooth surface.
Step 4: Decorating the boat
Use a small, smooth-surfaced wooden stick to attach a flag or sail. Drill a hole in the middle of the boat the size of the stick, then glue the stick into the hole with wood glue. Alternatively, glue the stick directly without drilling, making sure the contact is firm and stable. Attach a pre-cut and sanded sail or flag made from wood to the stick. Use the POPAR hammer and small stainless steel nails to secure the pieces.
Step 5: Painting and varnishing
Apply your chosen paint to the boat using the POPAR paint brush. The final shade will depend on the paint density. Apply additional layers if needed, letting each one dry thoroughly. Once the final coat is completely dry, apply a layer of protective wood varnish to make the boat water-resistant and long-lasting.
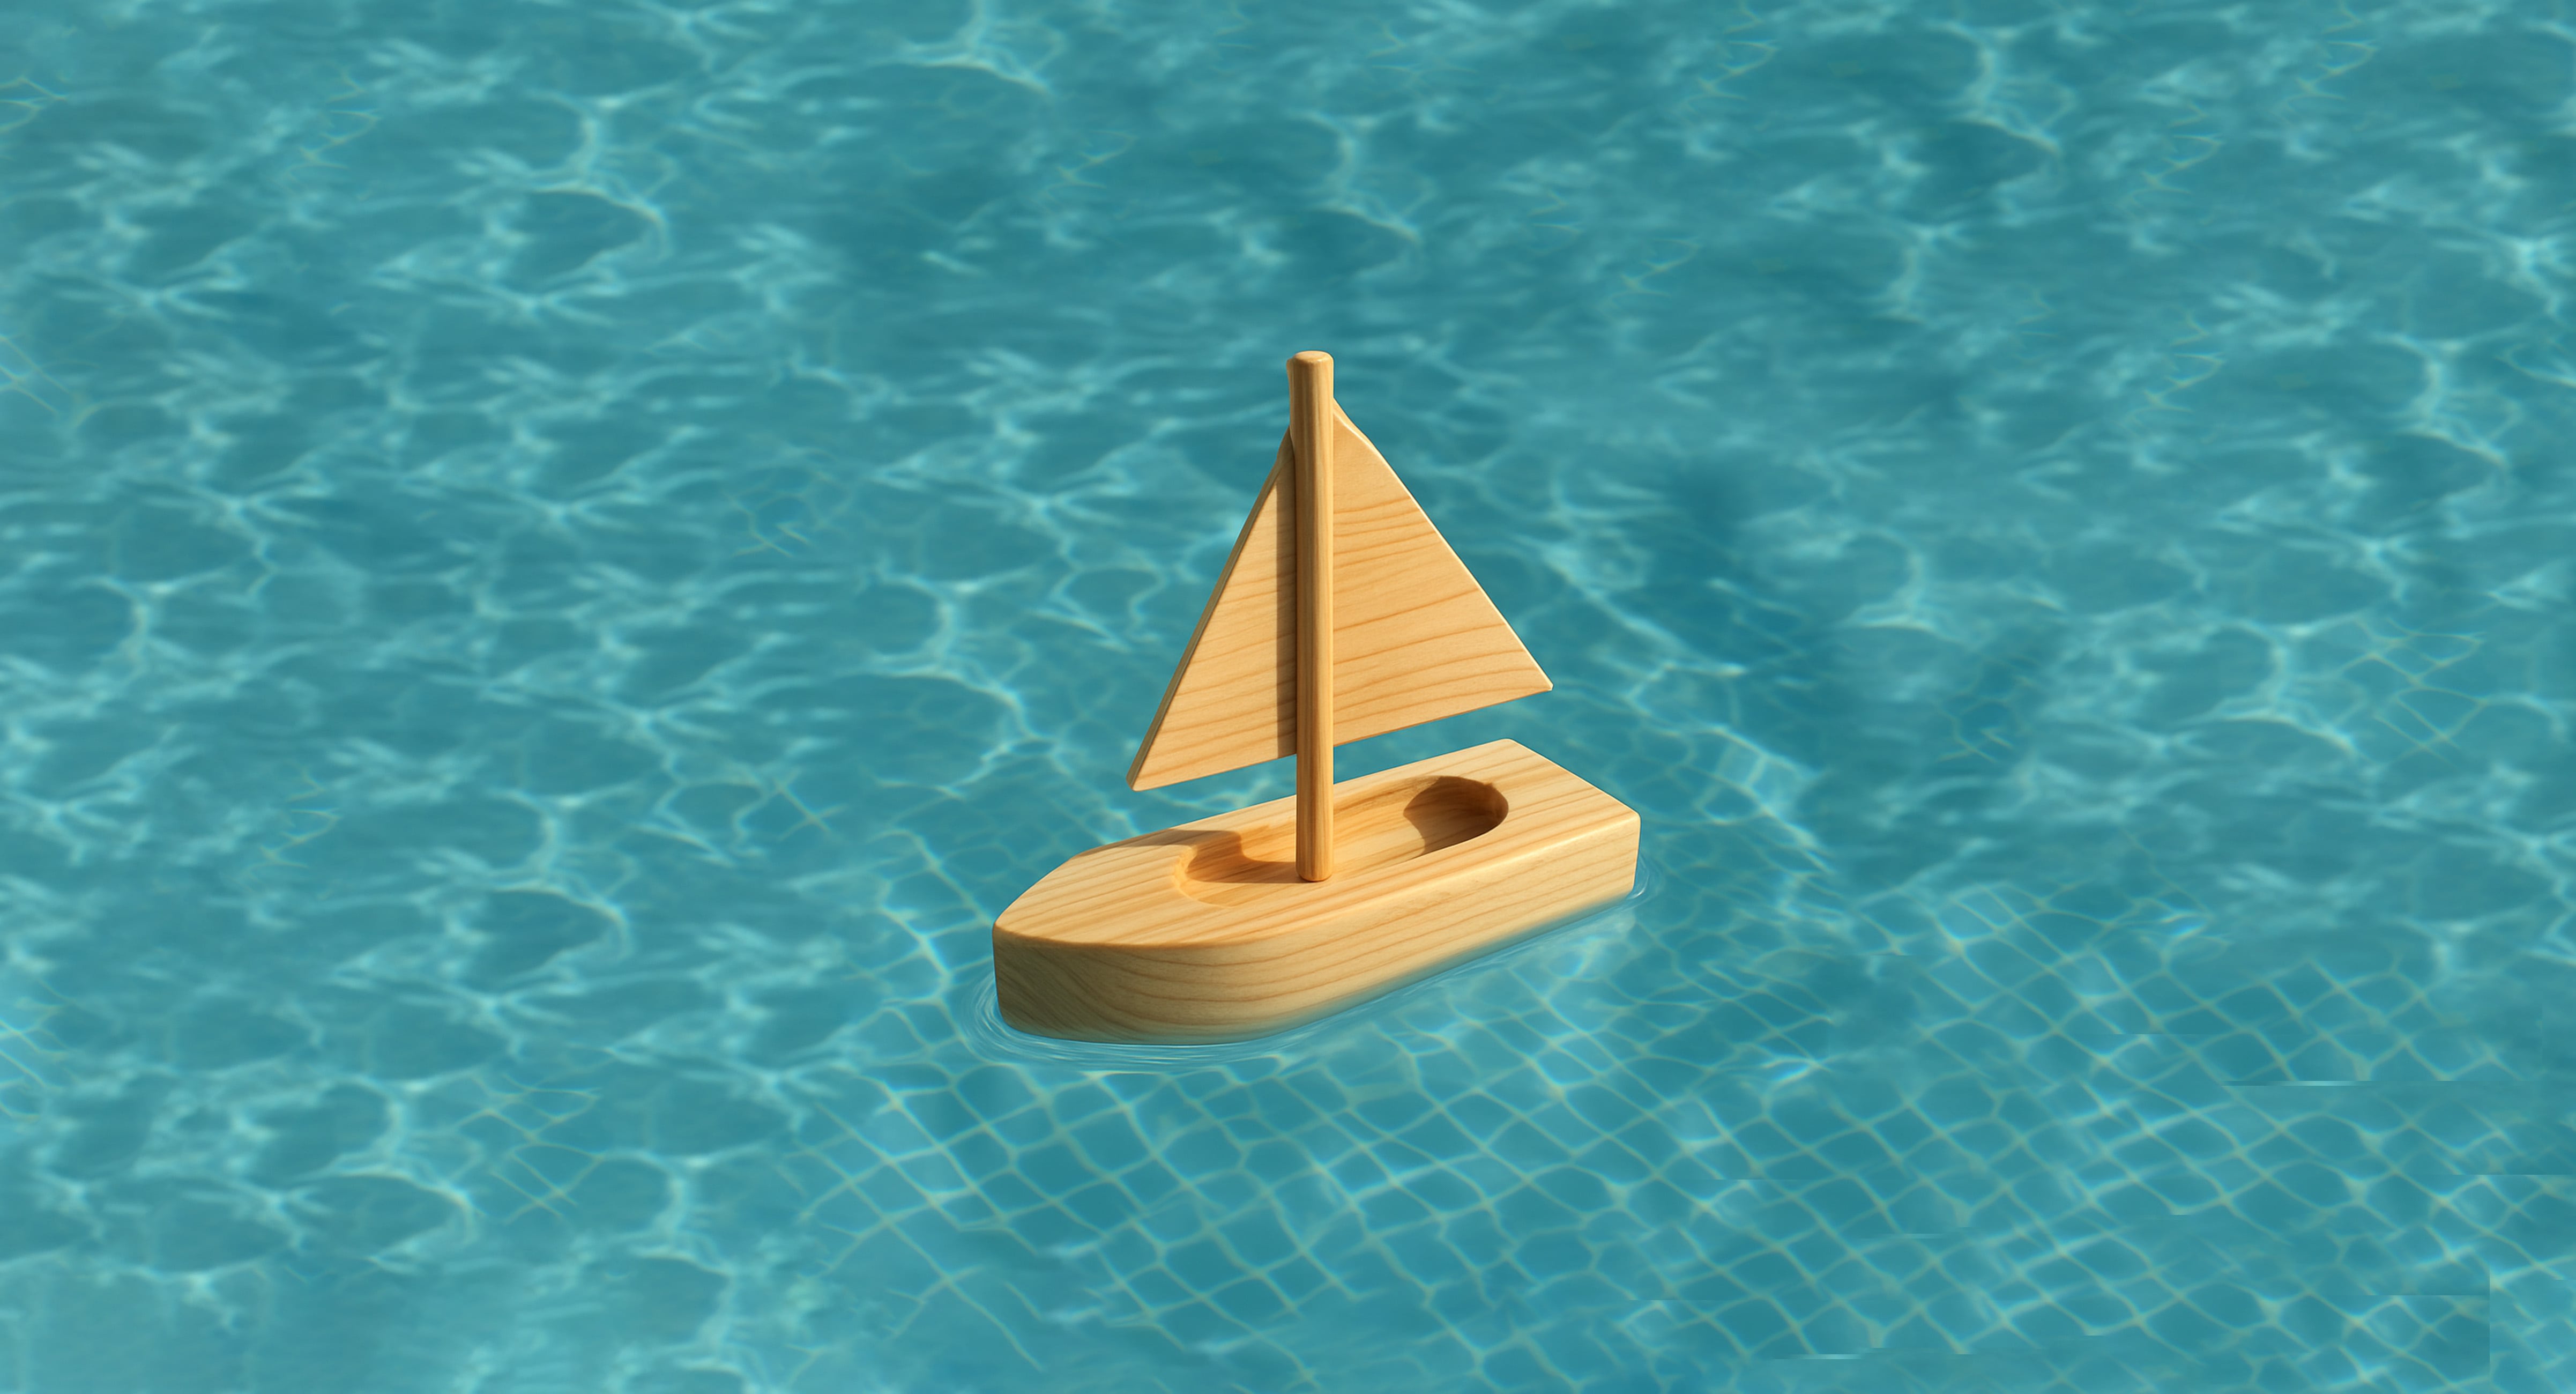
Your handmade wooden boat is now ready to float – whether in a backyard pool, a stream, or a lake! We’re sure the kids will feel proud for having created or helped create something by themselves, making playtime even more enjoyable. Feel free to make multiple boats, give them names, and organize a fun boat race.
This kind of holiday DIY project is a perfect way to spend time with your kids. At the same time, they’ll learn how to safely use basic hand tools we all have at home – tools they’ll use themselves in the future. By wearing safety goggles and handling tools responsibly, you’ll also set a good example and teach the importance of safe work practices.
After each use in water, we recommend air-drying the boat thoroughly, reapplying varnish after multiple uses, and storing it in a dry place.