DIY: Wooden book shelf
The beginning of the school year is the right time to create more order and structure at home. Books often lie scattered on desks and floors, so the solution is simple: build narrow wall-mounted shelves where books are displayed with their covers facing forward. Such shelves are clear, attractive to children, and allow them to reach for books on their own. The best part is that you can make the shelf from leftover wood using only basic hand tools that almost everyone has at home.
Materials and tools
For one shelf, you will need three longer boards (the back strip, the bottom, and the decorative front strip – you can also add two small side panels if you wish). The wood can be leftover spruce, pine, or plywood. The joints are reinforced with wood screws or small nails, and wood glue should always be added. To mount the shelf on the wall, use wall plugs (also known as anchors) or screws if attaching directly to a mounting strip.
The required tools include: a measuring tape, pencil, carpenter’s square, hand saw (fox tail), sandpaper, hand drill, drill bit, screwdriver, clamps, and a level (spirit level). Most of these can be found among the quality POPAR hand tools.
Step-by-step instructions
1. First, cut all the pieces to the desired dimensions, sand the edges, and prepare them for gluing.
2. Next, assemble the basic shelf by attaching the back strip to the rear and a low decorative strip at the front, which will keep the books in place.
Do this by drilling holes into the joints with a hand drill and a wood bit. Then, apply wood glue between the boards and fasten them together with POPAR screwdrivers and screws. Because of the soft structure of the wood, hand screwing is recommended to avoid damaging the boards (they can crack, especially if the strip is thinner). If you prefer, you can also use a hand drill with POPAR screwdriver bits, but be careful with the torque setting. Wipe away any excess wood glue before it dries.
3. Once the base is assembled, add the side panels (optional), which provide extra stability and a neat finish. You can paint the shelves, apply a protective coating, or keep the natural wood look.
4. When the shelves are finished, mount them on the wall. Use a level to ensure they are straight, and fasten them with screws through the back strip into the wall.
If you are mounting directly on a brick or concrete wall, drill holes with a concrete bit first, insert wall plugs, and then screw the shelves into place.
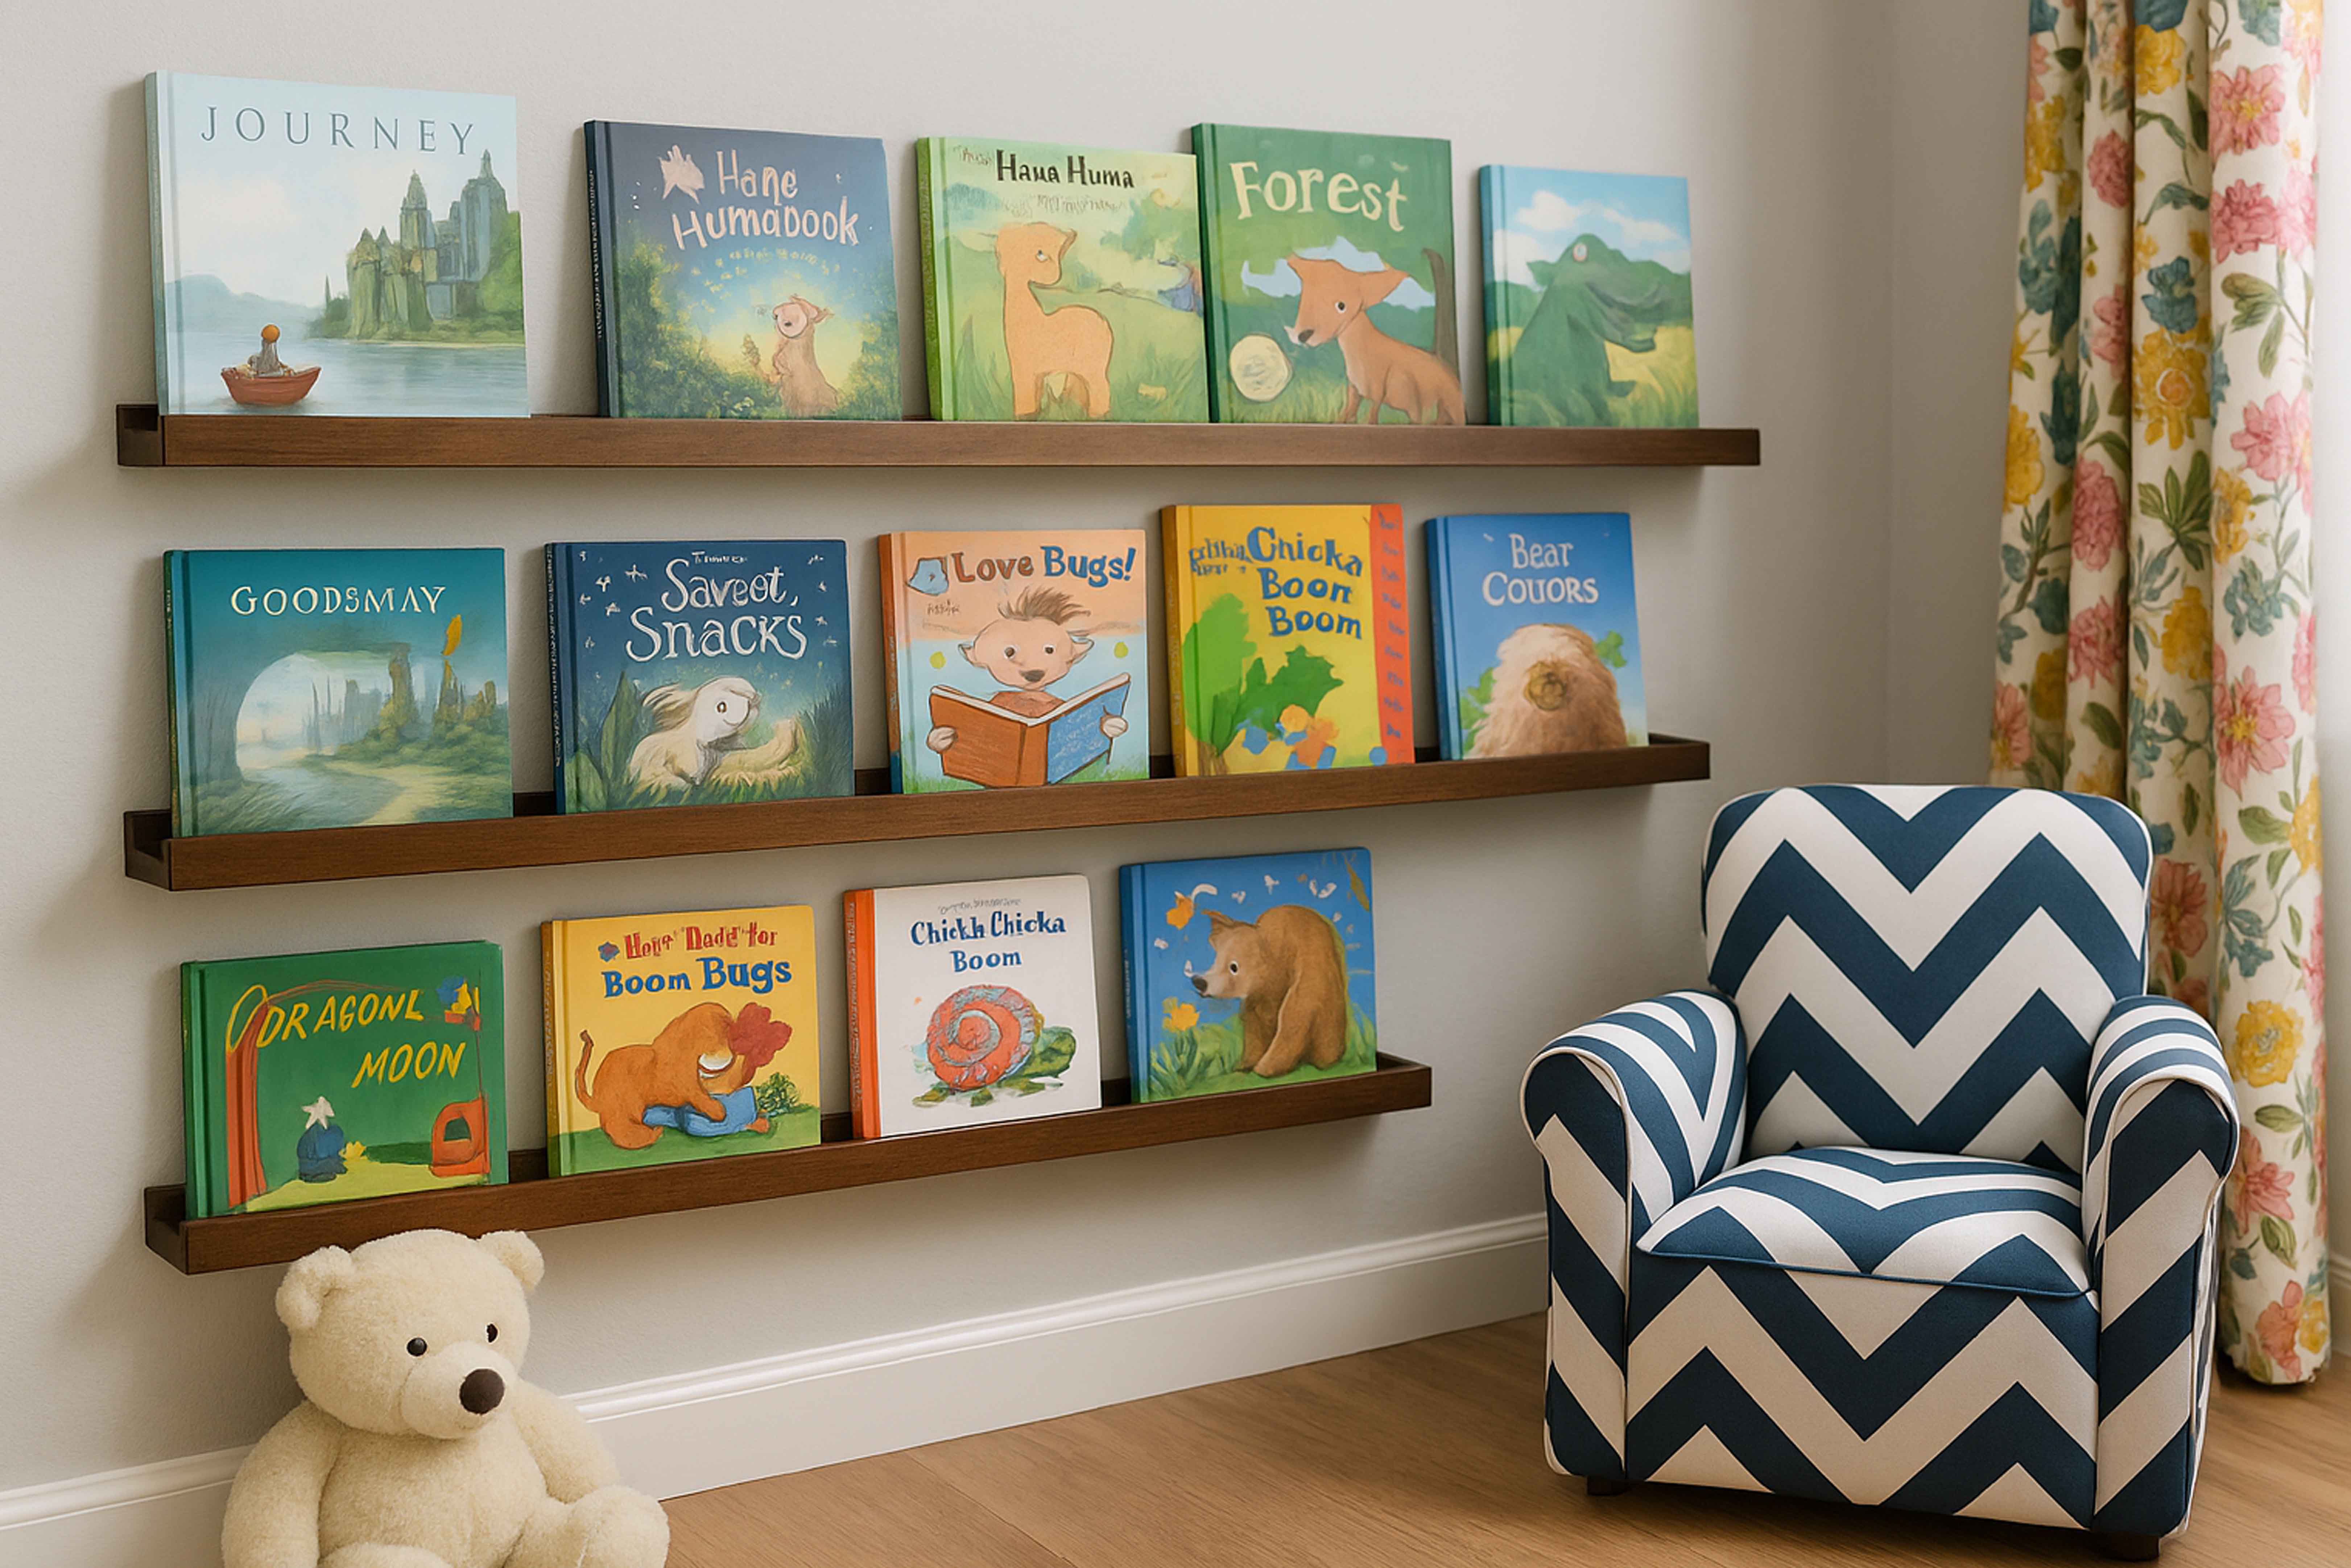
If you want multiple shelves, arrange them evenly one above the other, usually 28–30 cm apart, as shown in the finished example. To ensure precise and equal spacing, use a POPAR measuring tape.
Advantages of this shelf
This type of shelf is simple, functional, and durable. It allows for clear and organized book storage while also beautifully complementing a child’s room. Since it’s made from leftover wood, the project is very cost-effective and environmentally friendly. With basic hand tools, even beginners can easily build it.