DIY wooden Easter egg basket
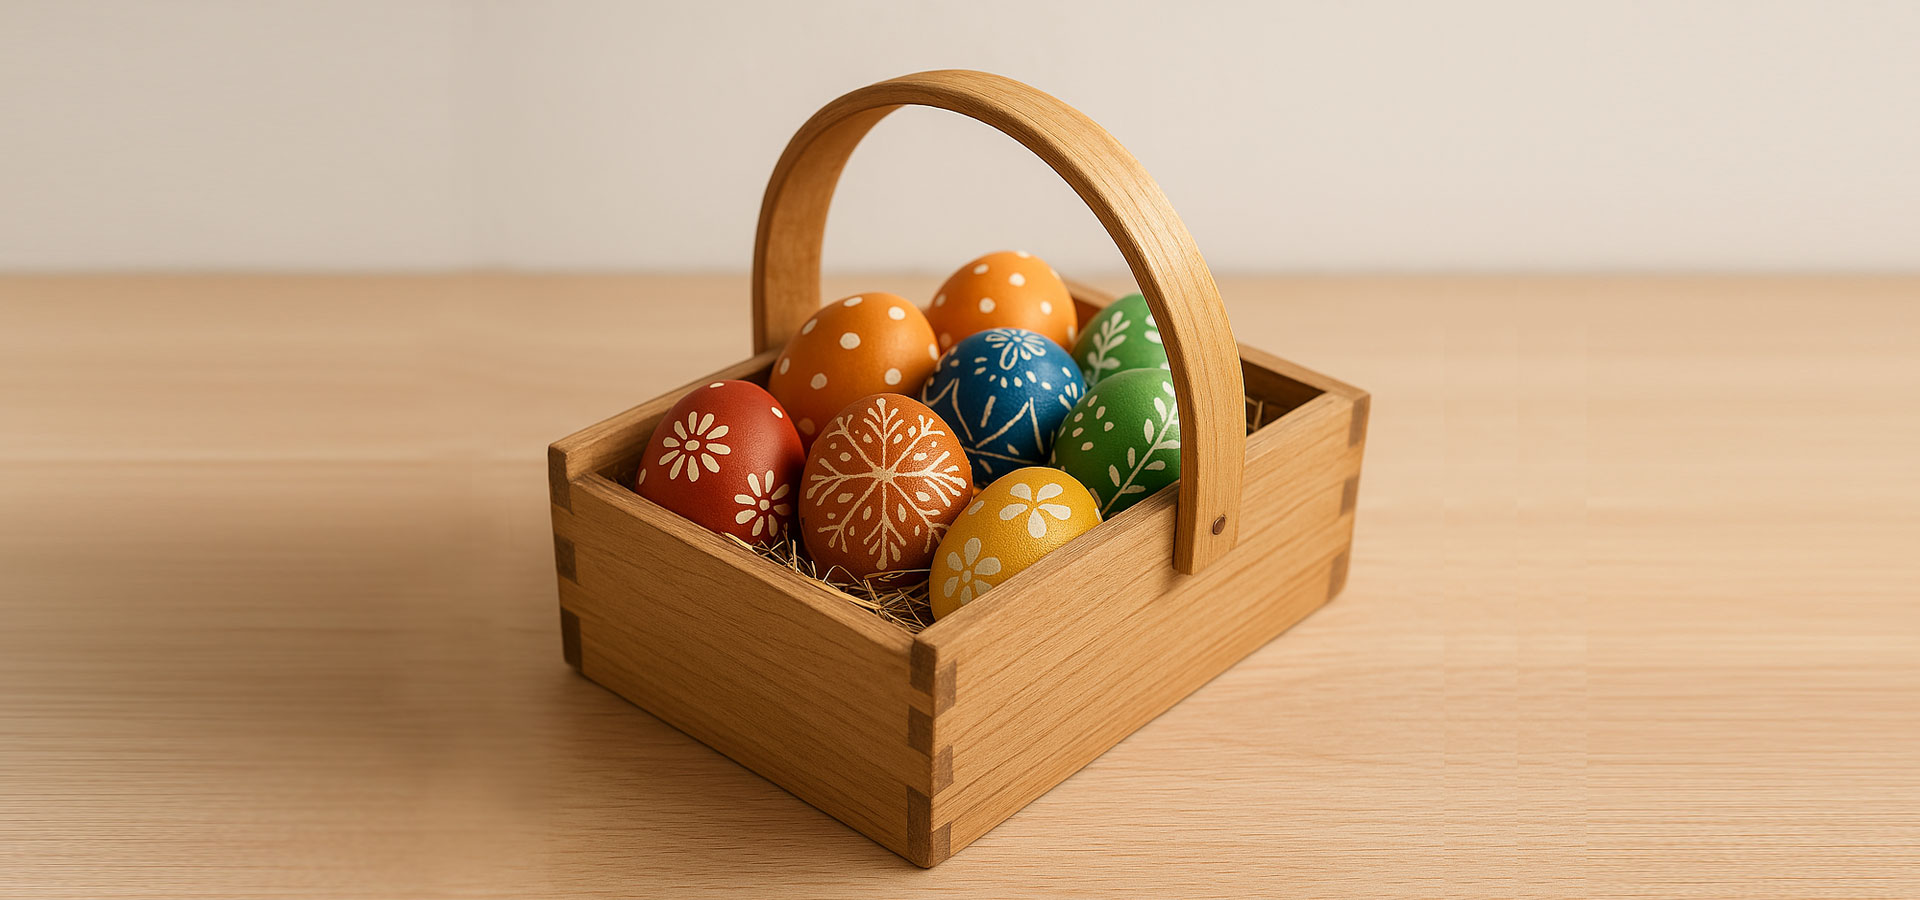
Forget plastic baskets – with just a few basic POPAR hand tools and some creativity, you can create a natural, warm wooden egg basket to proudly display your Easter eggs. This is a simple, rustic project that’s both decorative and functional.
What you’ll need:
Basic hand tools:
- POPAR handsaw
- POPAR hammer
- POPAR screwdriver
- POPAR tape measure
- Pencil
- Sandpaper
- POPAR drill (for small holes, optional)
Materials:
- Wooden board or slats (for bottom and sides)
- Small nails or screws
- Wood glue
- Thin rope or leather strip (for the handle – optional)
- Wood stain, wax or acrylic paint (optional for finishing)
Step-by-step guide:
Measure & cut the parts
Cut:
- 1 rectangular piece for the bottom (about 20×15 cm)
- 2 side panels (15×10 cm)
- 2 end panels (20×10 cm, possibly curved or with a cut-out handle)
Optional: 1 wooden strip (1×30 cm) for the top handle.
Sand all pieces
Smooth the edges and surfaces with sandpaper to make it splinter-free and safe for kids to handle.
Assemble the basket
Attach the side panels to the bottom using wood glue and nails or screws. Add the end pieces. Reinforce with glue at the joints.
Add a handle (optional)
Either screw in a wooden strip or drill holes on the sides and thread a rope or leather strip through for a handle.
Decorate or finish
Leave it rustic, stain it a warm tone, or add painted ornaments, folk patterns, or inscriptions.
Add straw or felt
Line the inside with decorative straw or soft felt and fill it with your colourful Easter eggs.