DIY wooden wall-mounted wine rack – A fun project with basic POPAR hand tools
If you love wine, home décor, or just a good weekend project, this one’s for you. A wall-mounted wooden wine rack is the perfect combination of practical and beautiful – and guess what? You don’t need a workshop full of power tools to make it happen. Just a few basic POPAR hand tools, a little patience, and a splash of creativity will do the trick.
What you’ll need
Basic hand tools:
- POPAR handsaw (for straight or angled cuts)
POPAR hammer
POPAR screwdriver
Sandpaper or sanding block
POPAR tape measure
Pencil
Wood glue
POPAR drill with small bit (optional for pre-drilling screw holes)
Materials:
Wooden board (length depends on how many bottles you want to hold)
Wooden slats or strips (for the front bottle support)
Screws or nails
Wood stain or paint (optional)
Wall-mounting brackets or anchors
Step-by-step guide
Start by deciding how many wine bottles your rack will hold. A good rule is to allow about 10–12 cm per bottle. Measure and mark your board, then cut it to size using your trusty handsaw.
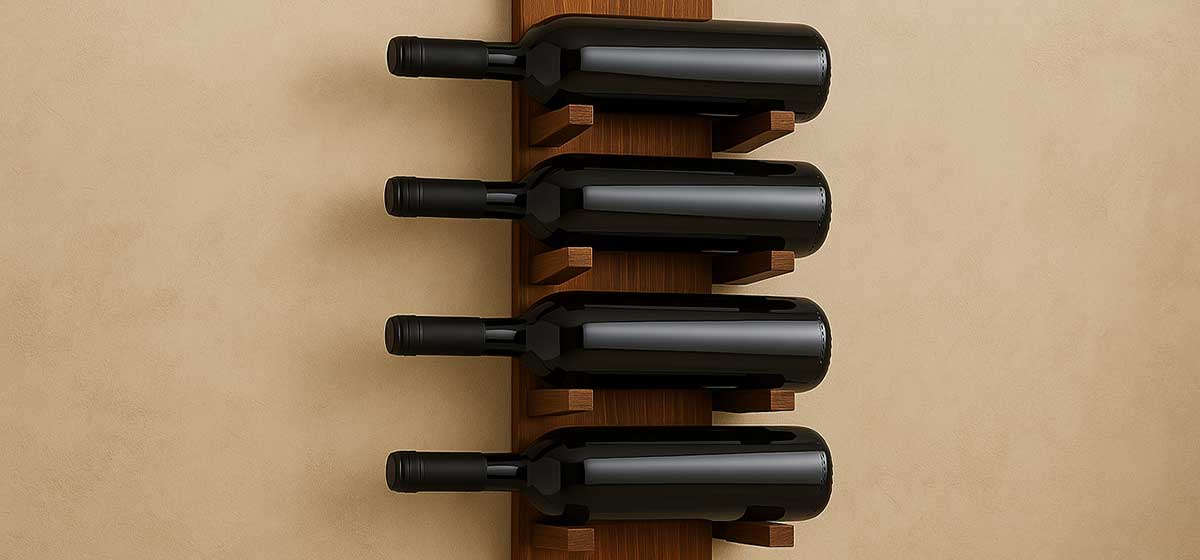
Cut thin wooden strips to attach along the front of the rack – they’ll hold the bottles in place and add a nice layered look. You can place one at the bottom and one halfway up, depending on your style.
Use sandpaper to round off any rough edges and splinters. This step makes your rack safer and way more polished.
Attach the front strips under a slope of at least 5 degrees to your main board using wood glue and screws, to support the weight of the bottle. The slope is important, as bottles are round and would fall of if the strips would be attached horizontally. Let the glue dry thoroughly before moving forward. Want extra security? Pre-drill small holes and use screws for a tighter hold.
Stain it, paint it, distress it – this is your moment to make it truly yours. Go rustic farmhouse, classy dark oak, or bright pop of color – whatever fits your vibe.
Use sturdy wall anchors or brackets, especially if you’ll be storing full bottles. Make sure it’s level before final installation.
Slide in your favorite reds and whites, maybe even add a few wine glasses hanging underneath.
So what are you waiting for? Uncork that creativity and build a wine rack that’ll make your home feel a little more you.🍷