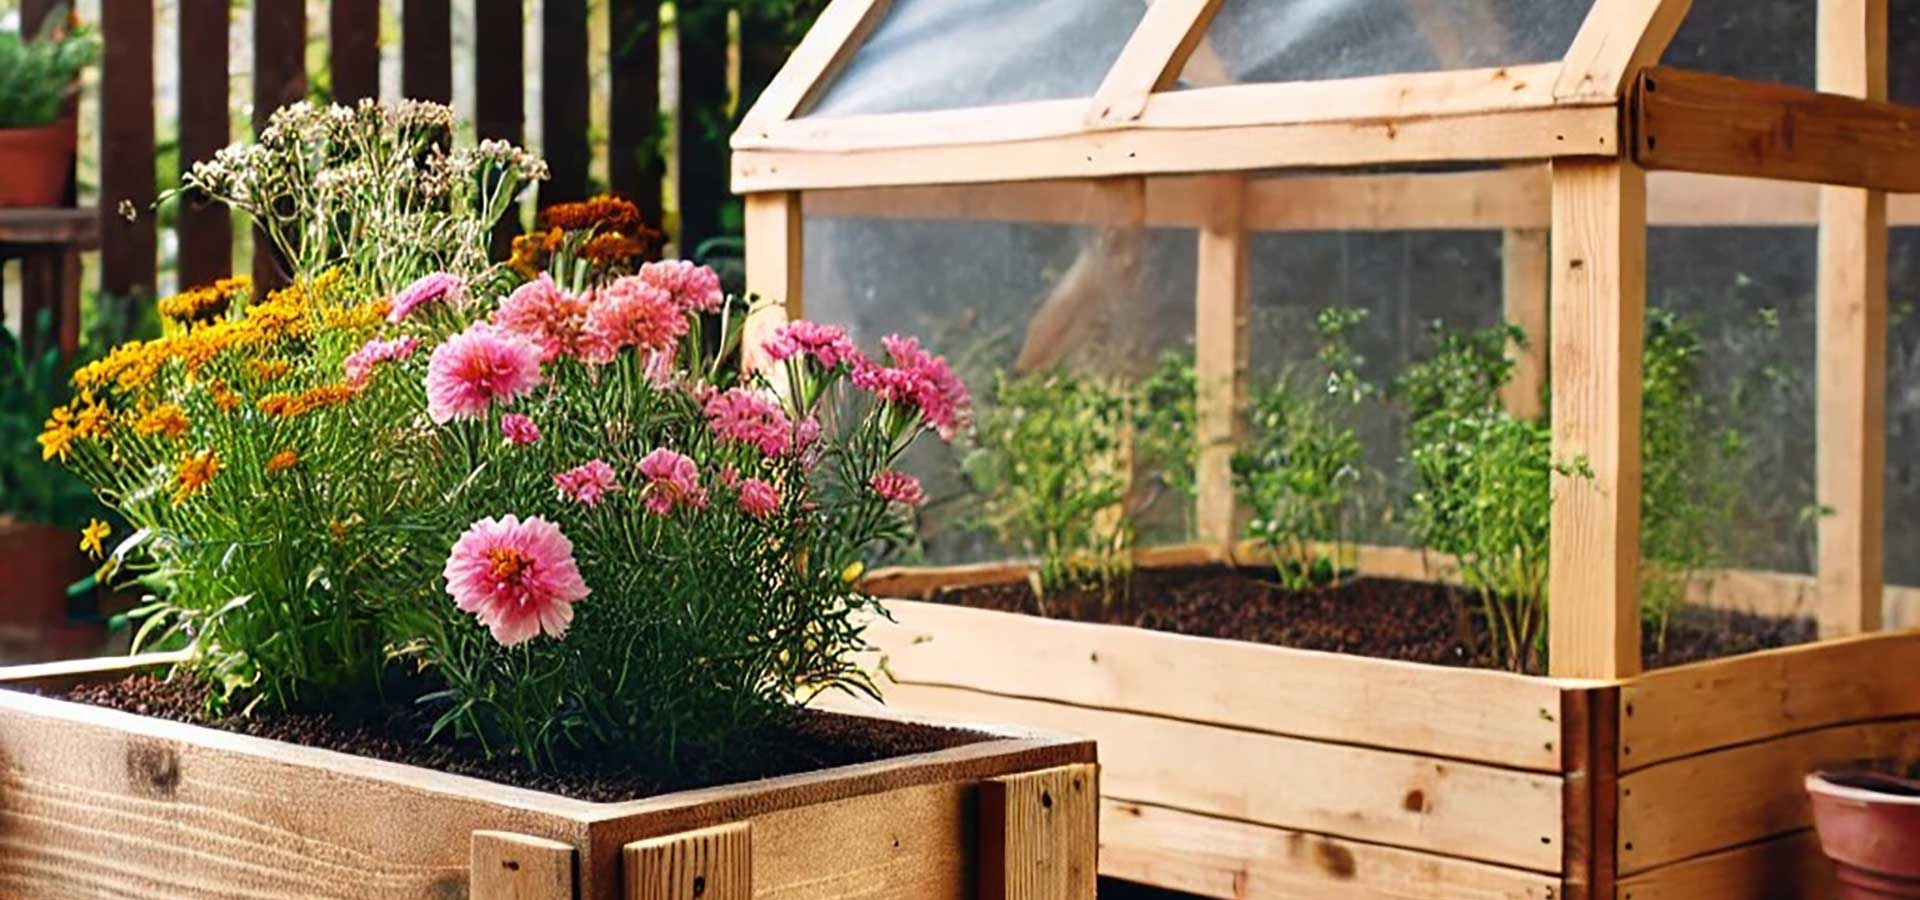
DIY raised garden bed with optional greenhouse cover

Creating your own raised garden bed from recycled wood is a sustainable and practical way to improve your gardening experience. A raised bed helps control soil quality, improve drainage, and reduce weed growth, making it an excellent choice for both beginners and experienced gardeners. By adding an optional greenhouse cover, you can extend your growing season and protect plants from harsh weather conditions.
In this detailed step-by-step guide, we’ll show you how to build a sturdy raised garden bed using basic hand tools and offer valuable tips to make the process easier. We will also explore different options for enhancing stability and flexibility, including reinforced joints and a removable greenhouse frame.
Materials and tools needed
✔️ Recycled wooden planks (from pallets, old furniture, or fence panels)
✔️ Hand saw POPAR
✔️ Measuring tape POPAR & pencil to mark accurate dimensions
✔️ Sandpaper (medium and fine grit) for smooth edges
✔️ Drill with wood bits for assembling and drainage holes
✔️ Claw hammer POPAR or roofing hammer POPAR for easy nail removal and fastening
✔️ Wood glue for extra stability
✔️ Screws or nails to hold the planks together
✔️ Wood stain or protective sealant to increase durability
✔️ Plastic pipes optional, for greenhouse cover
✔️ POPAR hand tools (for cutting, assembling, and finishing)
Step-by-step instructions
Step 1: Preparing the wooden planks
Start by selecting sturdy recycled wooden planks. Check for any signs of rot or damage and remove old nails or screws before beginning construction. The best way to remove nails from old planks is by using a claw hammer POPAR or a roofing hammer POPAR. These tools provide the right leverage to extract nails effortlessly, preventing wood from splitting.
Once your planks are clean and nail-free, sand them with medium-grit sandpaper to smooth rough edges and remove splinters. For a perfect finish, go over them again with fine-grit sandpaper. This step ensures safer handling and a more polished final look.
Step 2: Measuring and cutting the wood
Decide on the size of your raised bed based on available space and the plants you want to grow. A good starting size is:
- 120 cm (length) x 80 cm (width) x 30 cm (height) for small gardens - this size also fits if you use the planks from pellets, as this are basic pellet sizes
- 200 cm (length) x 100 cm (width) x 40 cm (height) for larger crops
Mark the planks with a pencil and measuring tape POPAR, then cut them using a hand saw POPAR. Ensure straight cuts for a secure fit.
Step 3: Assembling the raised bed
- Position the side panels horizontally and attach them to the corner posts.
- Use nails and a POPAR hammer or screws and a screwdriver POPAR to secure the structure.
- To enhance stability, apply wood glue along the joints before nailing or screwing them together. As wood dries over time, nails can loosen, but glue prevents this issue.
If you plan to place your raised bed on a hard surface (like concrete), consider adding a wooden bottom with drainage holes.
Step 4: Drilling drainage holes
To prevent water from accumulating in the bed, drill multiple drainage holes along the bottom edge. This ensures proper water flow and keeps plant roots healthy.
Step 5: Finishing touches
- Apply a protective wood stain or sealant to prevent moisture damage and extend the lifespan of your raised bed.
- Let it dry completely before placing an inside foil and filling it with soil.
Raised Bed: Adding a greenhouse cover
To protect plants from cold temperatures and extend the growing season, you can add a simple greenhouse cover to your raised bed. Here’s how:
Step 1: Choosing the right frame material
Instead of using a wooden frame, consider using flexible plastic pipes (around 1.5 cm in diameter). These are easy to bend and install, making them a great option for a removable greenhouse cover that you can take off in the summer. Of course wooden frame looks best with wooden raised bed. But it's harder to remove, as it's more heavy.
Step 2: Installing the greenhouse frame with plastic pipes
- Insert plastic pipes into holes drilled on the outer sides of the raised bed. Space them evenly along the length of the bed.
- Bend the pipes to create an arch-shaped structure over the bed.
- Secure them with screws onto the raised bad, and with POPAR zip ties secure the crossing of pipes together to ensure stable structure.
Step 2 (optionaly): Installing the greenhouse frame from wood
- Attached vertically the wooden planks on the greenhouse frame, that is the same size as your raised bed. Insert also the planks in between of the frame to secure the structure.
- Upper part of your greenhouse should be made diagonally to assure drainage of rain.
- Secure all planks together with screws onto the raised bad, add wood glue to ensure stable structure. To ensure easy opening of green house add door or attach the greenhouse cover to your raised bed only on one longer side, that you can easily open it upwards from the other.
Step 3: Attaching the cover
- Use clear plastic sheeting or garden fleece to cover the frame. The asiest way is to tighten the foil and to attach it on the frame with stapler.
- Secure the edges with wooden battens or clamps for easy removal.
To allow for good ventilation, add small roll-up side openings that can be secured with clips.
Building your own raised garden bed is an easy and cost-effective way to create a productive garden space. By adding a removable greenhouse cover, you can extend your growing season and protect plants from harsh weather. Start today with POPAR hand tools and enjoy a more organized, sustainable, and rewarding gardening experience!
For more DIY projects and professional tools, visit our blog